All Categories
Featured
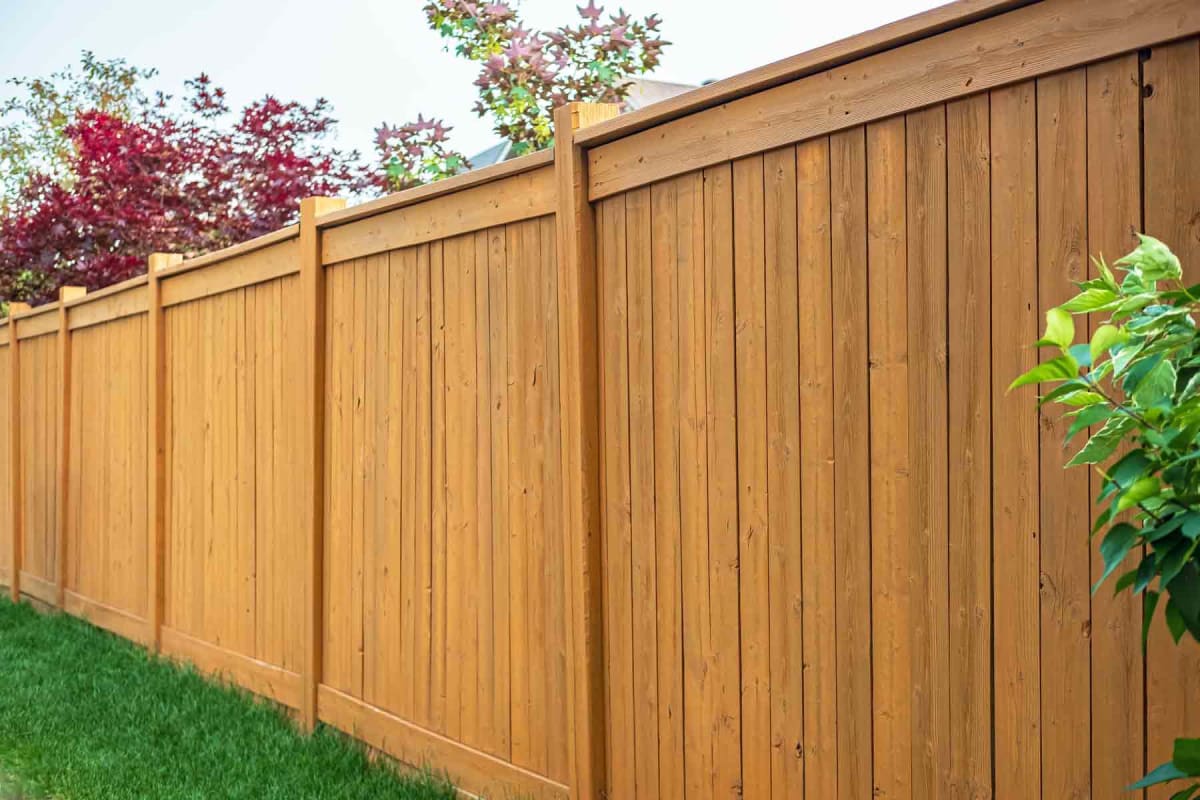
A leaning or damaged fence blog post can be both a safety and an eye sore concern. With time, climate condition, dirt shifts, or perhaps the all-natural aging of materials can create a fencing blog post to lean or break. Fixing a leaning or damaged fence article is a job that the majority of house owners can tackle on their very own. Below's a detailed guide to aid you recover your fence post to its initial, tough placement.
![]()
Shovel. Article opening digger (optional for much deeper openings) Degree. Concrete mix (quick-setting is ideal) Gravel (for drainage, optional) Sledgehammer or article puller (for stubborn articles) If enhancing the article), a 2x4 support (. Security goggles and gloves. Having all these products prepared will certainly make the work easier and quicker.
Concrete: One of the most efficient methods to protect a blog post is by putting concrete around the base. Mix quick-setting concrete according to the instructions on the bag, after that pour it around the blog post, making certain the article continues to be straight and degree.
Gravel: If you favor an easier, more flexible choice, you can use crushed rock around the post for far better drain and assistance. Fill the opening with crushed rock, making certain the post is straightened appropriately.
Step 1: Remove the old, broken message. If the blog post is set in concrete, use a post puller or sledgehammer to loosen up the concrete and remove the post. Action 2: Once the article is gotten rid of, dig a new hole if required. The opening needs to have to do with 2-3 feet deep, depending upon the dimension of your brand-new article and the kind of dirt you're collaborating with. Step 3: Insert the new blog post right into the hole, ensuring that it is degree and lined up with the remainder of the fencing posts. Tip 4: Fill the hole with concrete or crushed rock as explained previously, making sure that the brand-new article is securely secured. 7. Include Support Dental Braces (Optional) If you're concerned about the future security of the post, you can include a brace to provide added assistance. Connect a 2x4 or comparable piece of wood to the message at a diagonal angle, securing the various other end to a close-by fence blog post or the ground. This will stop any future leaning and offer the message a lot more structural integrity while the concrete cures or gravel works out.
![]()
Conclusion. Dealing with a leaning or harmed fence post does not have to be a complicated job. By following these basic steps-- evaluating the damage, digging around the post, and enhancing it with concrete or crushed rock-- you can restore your fencing message to its upright setting.
- Analyze the Damages. If your fence blog post is leaning, it could just need to be straightened and enhanced. If the article is rotted, broken, or damaged, it might need replacing.
- Collect Necessary Tools and Products. To fix the blog post, you'll need a couple of fundamental devices and materials:
Shovel. Article opening digger (optional for much deeper openings) Degree. Concrete mix (quick-setting is ideal) Gravel (for drainage, optional) Sledgehammer or article puller (for stubborn articles) If enhancing the article), a 2x4 support (. Security goggles and gloves. Having all these products prepared will certainly make the work easier and quicker.
- Dig Around the Base of the Message. To deal with the leaning blog post, you'll need to subject the base of the message. If the post is deeply ingrained in concrete, you may need to dig deeper or use a post puller to eliminate it.
- Correct the Blog post. When the base of the article is subjected, it's time to align it. Use a level to ensure the article is upright, readjusting it as required.
- Strengthen the Blog post. As soon as the post remains in the appropriate setting, you'll need to strengthen it to avoid it from leaning again. You can do this in a pair of ways:
Concrete: One of the most efficient methods to protect a blog post is by putting concrete around the base. Mix quick-setting concrete according to the instructions on the bag, after that pour it around the blog post, making certain the article continues to be straight and degree.
Gravel: If you favor an easier, more flexible choice, you can use crushed rock around the post for far better drain and assistance. Fill the opening with crushed rock, making certain the post is straightened appropriately.
- Replace a Damaged Blog Post (If Essential) Fixing it might not be possible if the message is severely rotted or broken. In this case, replacing the post is your finest choice. Below's exactly how to change a damaged fencing article:
Step 1: Remove the old, broken message. If the blog post is set in concrete, use a post puller or sledgehammer to loosen up the concrete and remove the post. Action 2: Once the article is gotten rid of, dig a new hole if required. The opening needs to have to do with 2-3 feet deep, depending upon the dimension of your brand-new article and the kind of dirt you're collaborating with. Step 3: Insert the new blog post right into the hole, ensuring that it is degree and lined up with the remainder of the fencing posts. Tip 4: Fill the hole with concrete or crushed rock as explained previously, making sure that the brand-new article is securely secured. 7. Include Support Dental Braces (Optional) If you're concerned about the future security of the post, you can include a brace to provide added assistance. Connect a 2x4 or comparable piece of wood to the message at a diagonal angle, securing the various other end to a close-by fence blog post or the ground. This will stop any future leaning and offer the message a lot more structural integrity while the concrete cures or gravel works out.
- Inspect for Future Security. Once the article is fixed or replaced, examine it regularly to make sure that it stays safe and secure and upright. Inspect the bordering soil for erosion or changing, and deal with any kind of concerns without delay to avoid further damages.
Conclusion. Dealing with a leaning or harmed fence post does not have to be a complicated job. By following these basic steps-- evaluating the damage, digging around the post, and enhancing it with concrete or crushed rock-- you can restore your fencing message to its upright setting.
Latest Posts
Discover the Premier Auto Repair Discounts in Montclare, Chicago
Published May 26, 25
1 min read
Smooth Light Weight Aluminum Rain Gutters: The Smart Selection for Your Home
Published May 23, 25
1 min read
Identifying When Your Car Needs Skilled Auto Repair at Montclare Auto Repair
Published May 23, 25
1 min read
More
Latest Posts
Discover the Premier Auto Repair Discounts in Montclare, Chicago
Published May 26, 25
1 min read
Smooth Light Weight Aluminum Rain Gutters: The Smart Selection for Your Home
Published May 23, 25
1 min read
Identifying When Your Car Needs Skilled Auto Repair at Montclare Auto Repair
Published May 23, 25
1 min read